


Why Cleaning Your Home Water Tank Matters
How to clean water tank at home is one of the most essential maintenance tasks for ensuring safe, hygienic, and fresh water for your family. Over time, household water tanks collect dirt, sludge, bacteria, algae, and sediments that can affect your water quality and health. Knowing the right DIY method helps you clean your tank safely, effectively, and without needing professional help. In this guide, you’ll learn step-by-step instructions, natural cleaning solutions, safety tips, and expert advice to keep your home water tank spotless.
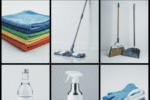
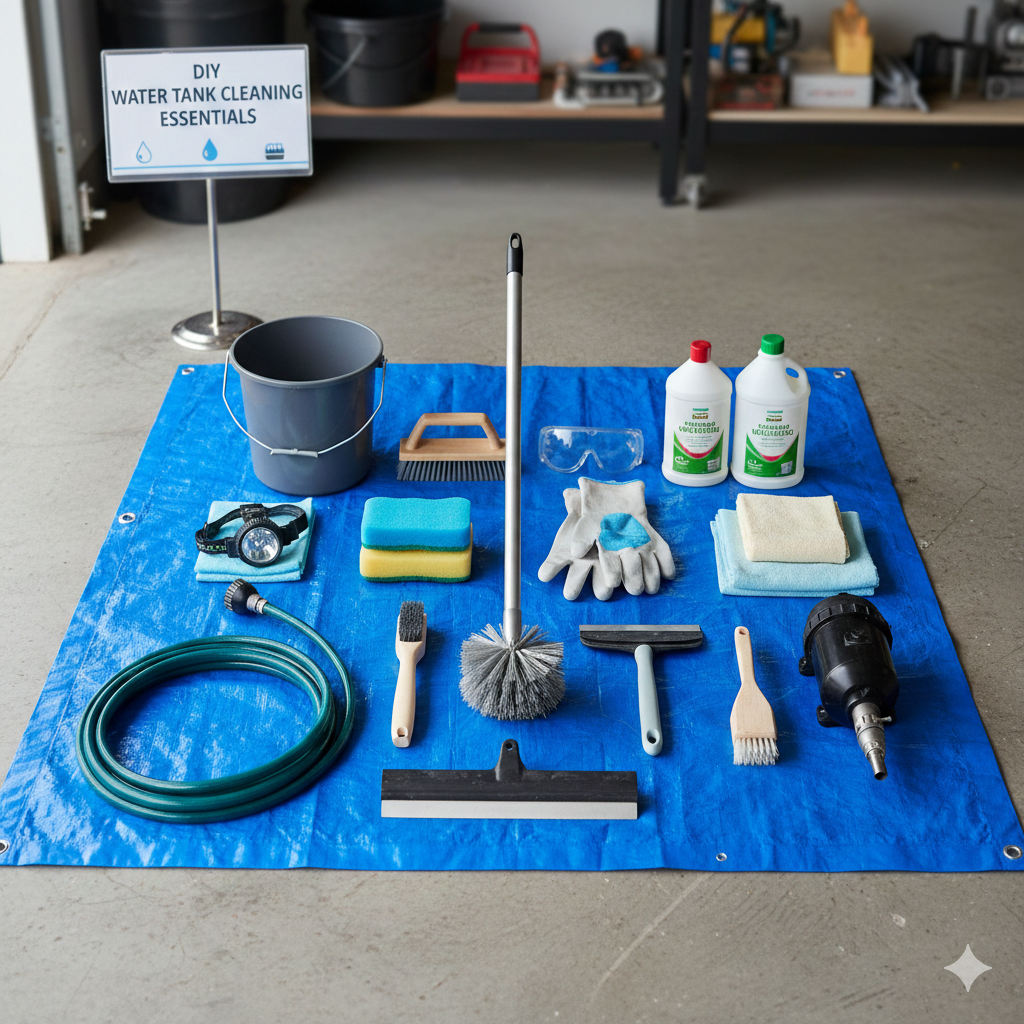
What You’ll Need to Clean a Water Tank at Home
You don’t need expensive equipment. A few common tools will do:
Required Tools:
- Long-handle scrubber or hard bristle brush
- Bucket
- Wet/dry vacuum (optional but helpful)
- Mop or floor wiper
- Hose pipe
- Flashlight
- Gloves & mask (for hygiene)
Household Disinfectants:
- Baking soda
- Vinegar
- Bleach (chlorine-based)
- Liquid detergent
- Boiling water (optional)
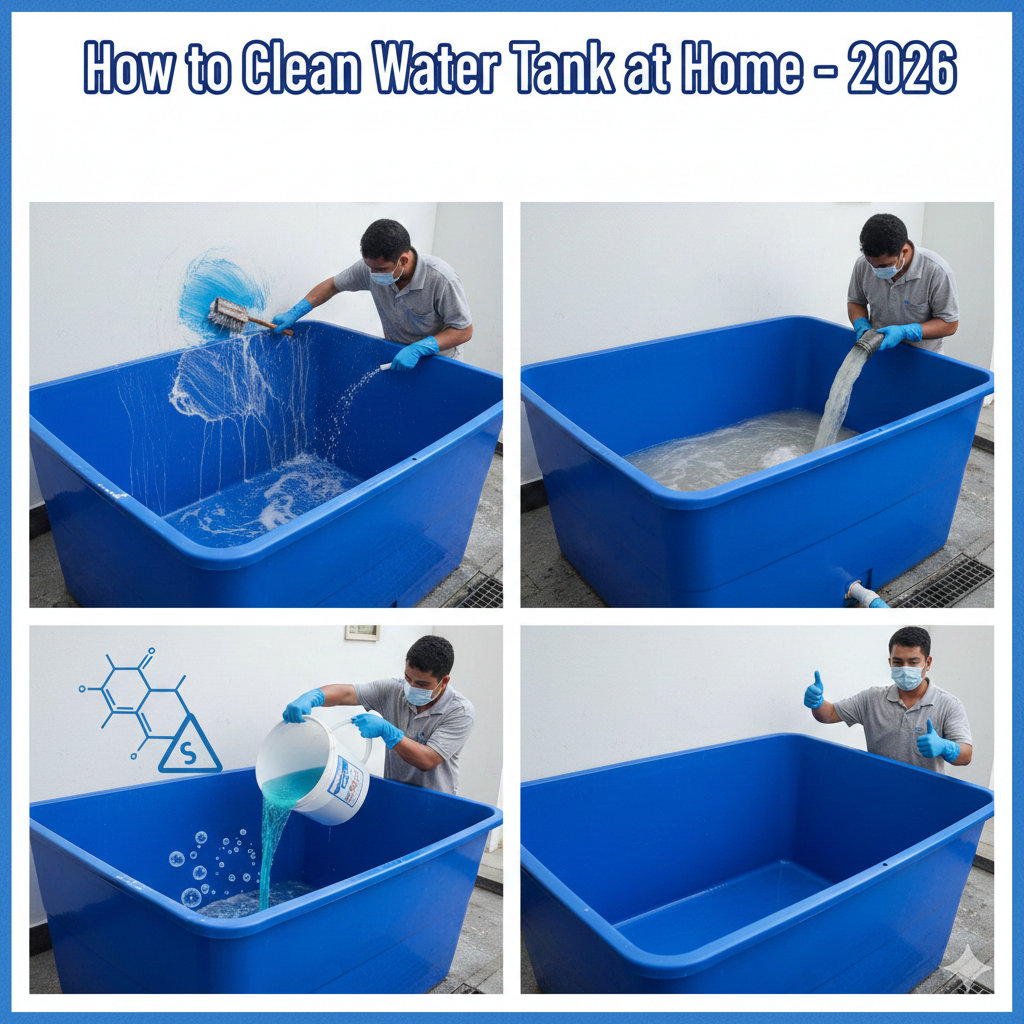
Step-by-Step Guide: How to Clean Water Tank at Home
Follow these safe and effective steps:
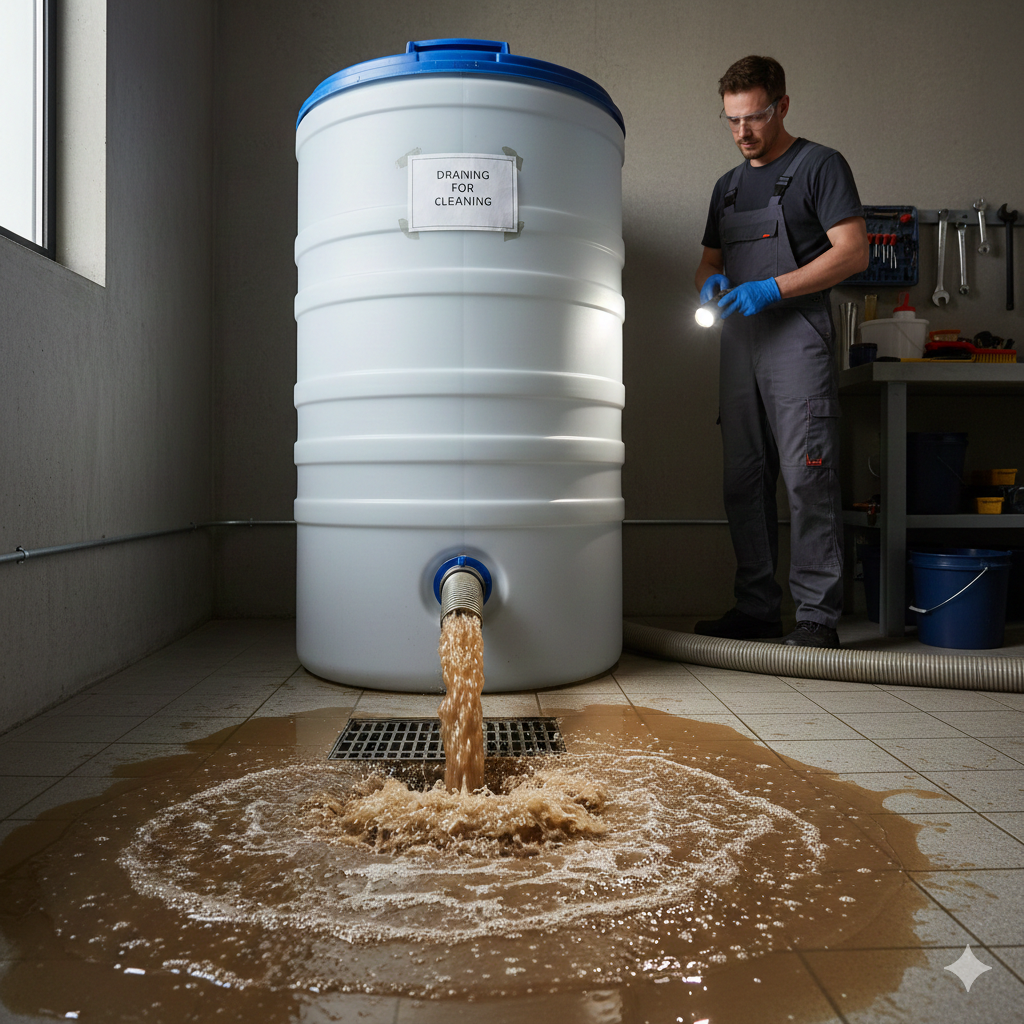
Step 1: Turn Off Water Supply & Drain the Tank
- Shut off the main water valve.
- Open taps to empty the tank fully.
- Use a bucket or small pump for the last few litres.
This exposes the base and walls for cleaning.
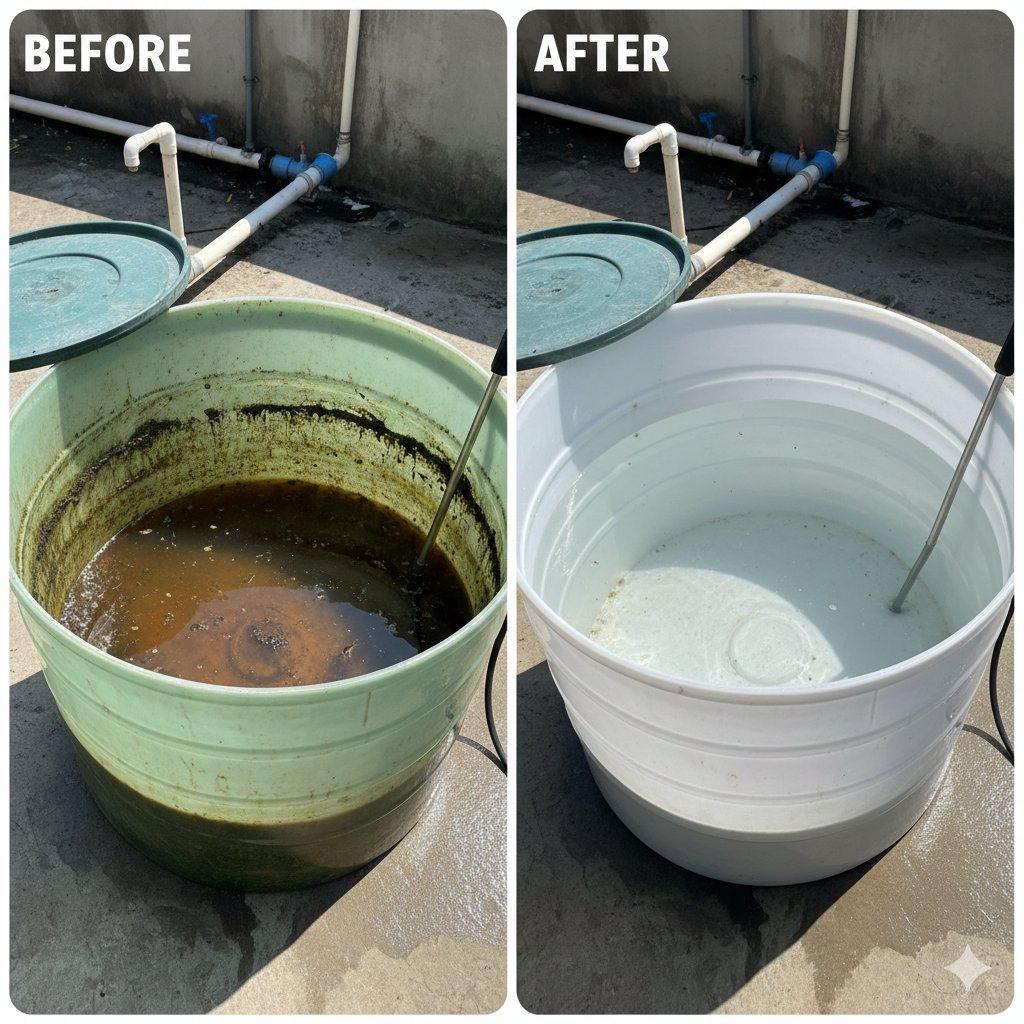
Step 2: Scrape and Remove Sludge
Using a brush or scrubber, remove:
- Mud
- Black sludge
- Sediment
- Sand
- Settled debris
A wet/dry vacuum helps speed up sludge removal.
Step 3: Scrub the Walls and Floor Thoroughly
Use a long-handled brush with detergent solution.
DIY Cleaning Mix:
- 1 cup detergent
- 2 tbsp baking soda
- 2 tbsp vinegar
- 2 litres warm water
Scrub all surfaces:
- Walls
- Corners
- Floor
- Entry points
Step 4: Rinse with Clean Water
Spray the tank walls using a hose pipe.
Rinse at least 2–3 times until foam and debris are gone.
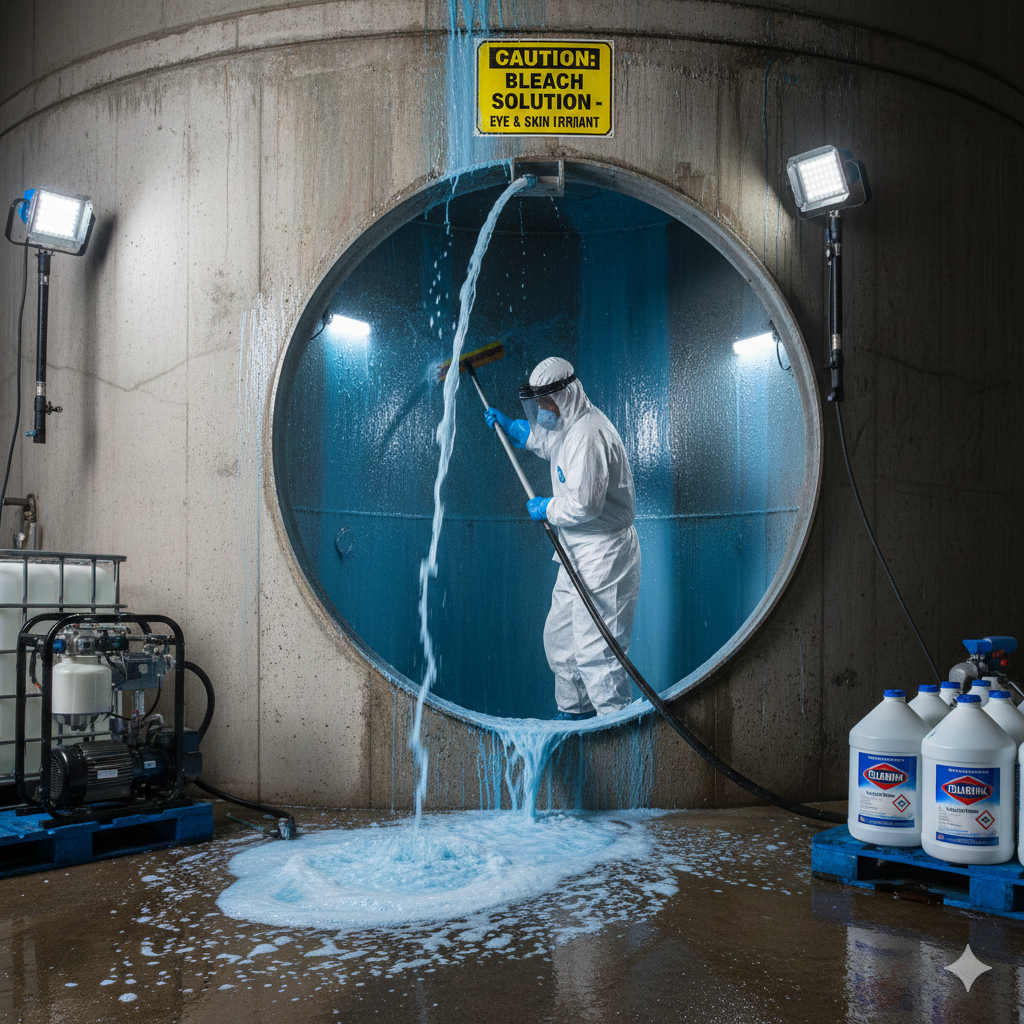
Step 5: Disinfect the Tank
You can disinfect using either household bleach or a natural solution.
Option A – Bleach/Chlorine Disinfection (Most Effective)
Mix this in a bucket:
- 1 teaspoon bleach per 4 litres of water
Apply on all surfaces using a mop or brush.
Let it sit for 30–60 minutes.
Option B – Natural Disinfectant (Vinegar + Baking Soda)
Mix:
- 2 cups vinegar
- 4 tablespoons baking soda
- 5 litres warm water
Leave it for 1 hour.
Step 6: Final Rinse & Drain Completely
Rinse thoroughly until:
- No smell
- No foam
- No chemical traces
- Water runs clear
Then allow the tank to dry for 20–30 minutes.
Step 7: Refill the Tank
Once dry, close the drain and refill.
Run taps for 2–3 minutes to flush any residual disinfectant.
How Often Should You Clean Your Water Tank at Home?
| Household Type | Recommended Cleaning |
|---|---|
| Regular Homes | Every 6 Months |
| Areas with Hard Water | Every 3–4 Months |
| Apartments with Old Tanks | Every 2–3 Months |
| Homes Using Bore Water | Every 2–3 Months |
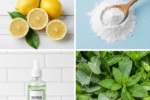
Best Natural DIY Cleaning Solutions
Here are homemade tank cleaners safe for households:
✔ Vinegar + Baking Soda
Kills bacteria and dissolves mineral deposits.
✔ Lemon + Salt
Natural deodorizer, mild antibacterial effect.
✔ Boiling Water
Great for small tanks—kills germs instantly.
Safety Tips While Cleaning a Water Tank at Home
- Never mix bleach with vinegar (dangerous fumes).
- Wear gloves and a mask.
- Keep the tank well-ventilated.
- Do not enter large tanks without proper safety.
- Avoid strong chemicals if using drinking water tank.
- Ensure complete rinsing before refilling.
Source:
- World Health Organization (WHO) — Guidelines for Drinking-Water Quality
- Centers for Disease Control and Prevention (CDC) — Safe Water Storage / Water Storage & Hygiene Guidance
- U.S. Environmental Protection Agency (EPA) — Drinking Water Standards & Regulations Overview
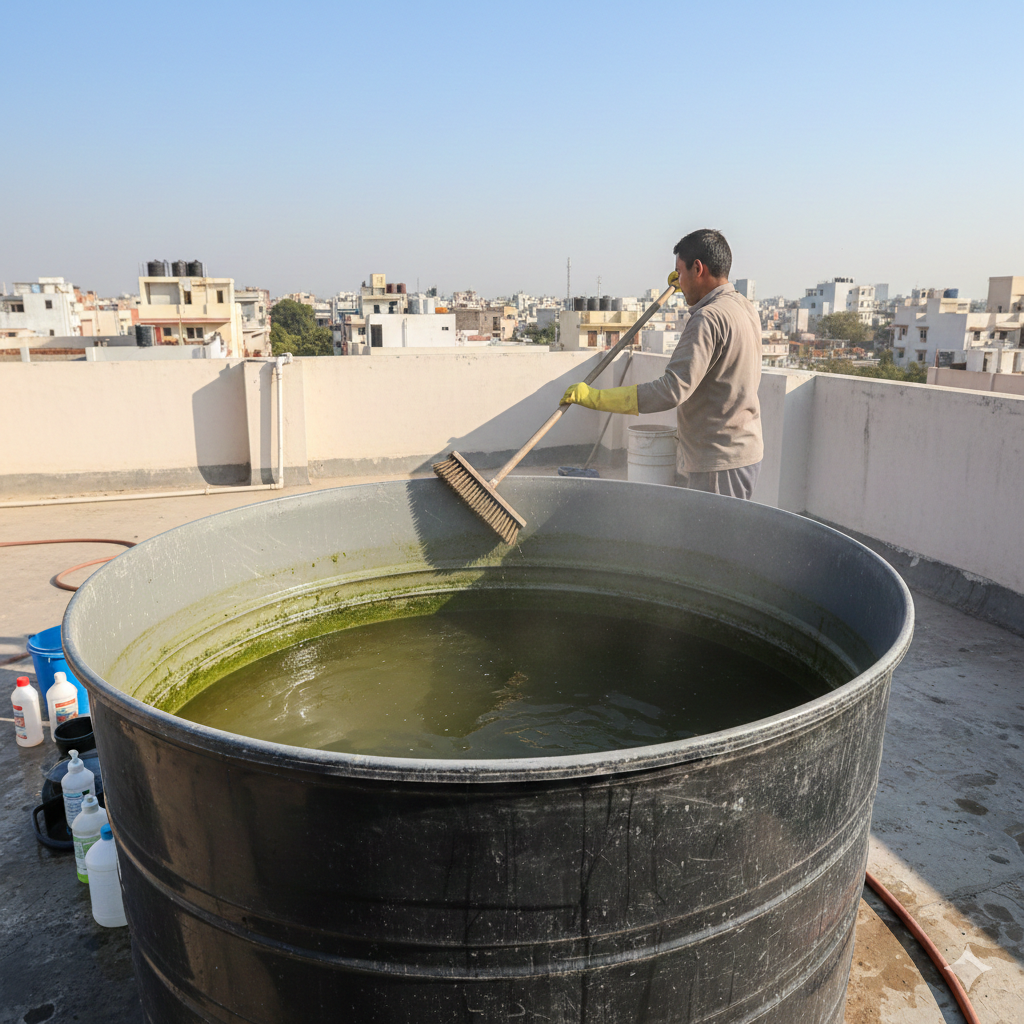
Signs Your Water Tank Needs Cleaning
- Water smells bad
- Yellow or brown water color
- Algae growth
- Sand or particles in water
- Tap filters clogging quickly
- Clothes looking dull after wash
If you notice any of these, clean the tank immediately.
DIY Tank Cleaning vs. Professional Cleaning – Which Is Better?
| Feature | DIY | Professional |
|---|---|---|
| Cost | Free / Low | Moderate |
| Tools | Basic | Industrial |
| Time | More | Fast |
| Depth | Good | Excellent |
| Disinfection | Basic | Advanced |
DIY is great for regular maintenance; professionals are best for deep cleaning.
FAQs
1. Can I clean a water tank without chemicals?
Yes—natural cleaners like vinegar & baking soda work well.
2. Is bleach safe for water tank cleaning?
Yes, when used in small amounts and rinsed thoroughly.
3. How long does DIY tank cleaning take?
Between 30–90 minutes depending on size.
4. Can I stay home during the process?
Yes—DIY cleaning is safe when done properly.
5. Can I drink water immediately after cleaning?
Yes, after rinsing the tank 2–3 times.
Final Thoughts
Cleaning a water tank at home is simple, safe, and extremely important for your family’s health. With basic tools and natural or household disinfectants, you can remove sludge, eliminate bacteria, and enjoy clean, fresh water every day.
Regular DIY cleaning every 3–6 months ensures safe water for:
- Drinking
- Cooking
- Bathing
- Cleaning
If the tank is extremely dirty or large—consider professional cleaning for best results.