


The “After the Renovation” Reality Check
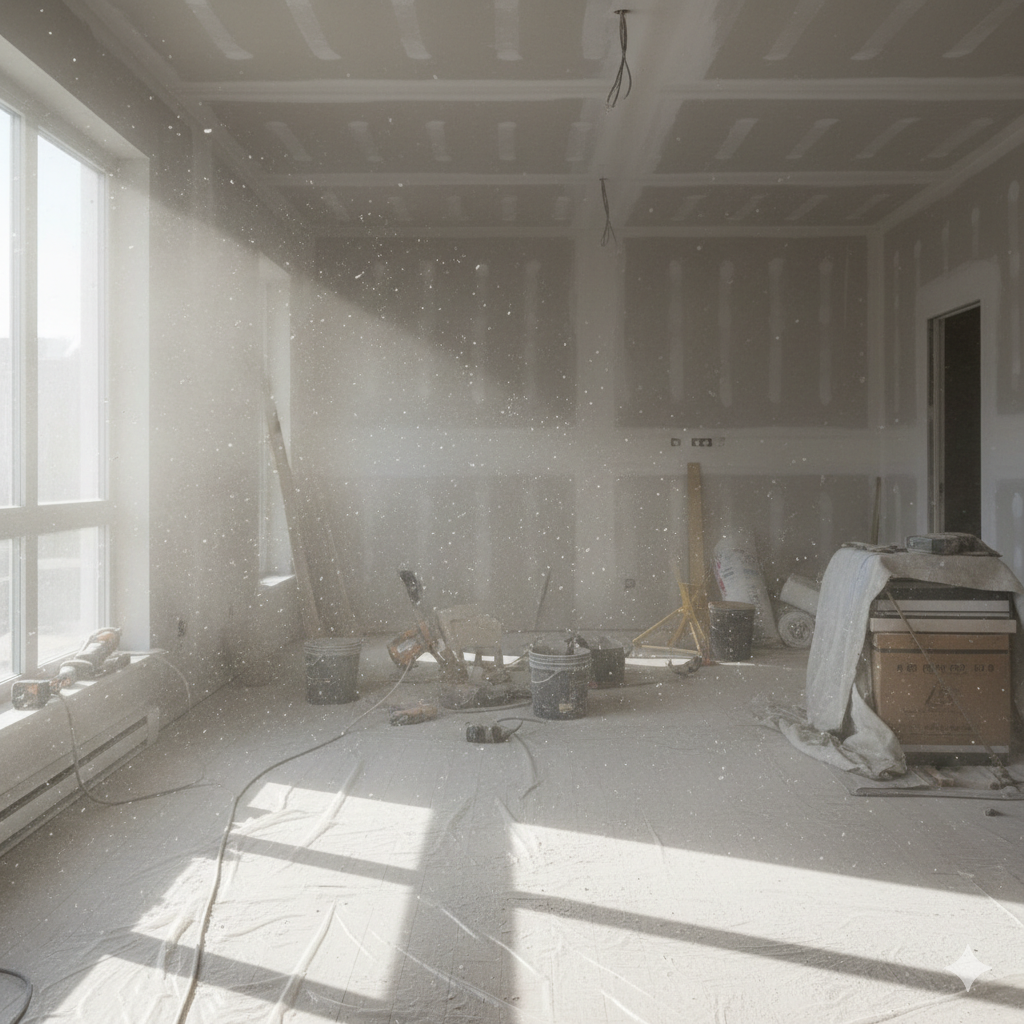
Renovating or building a home is incredibly exciting… until you see the mess left behind. Dust in the cabinets. Paint drops on the floors. Sticky adhesive everywhere. Fine plaster powder floating in the air like glitter — except not cute at all.
And that’s exactly why Post-Construction Cleaning is one of the most important final steps before moving into your new space.
This guide gives you the most complete, professional, step-by-step post-construction cleaning checklist so you can remove dust, polish surfaces, protect your home, and make everything move-in ready — fast and safely.
Let’s walk through the ultimate guide to restoring your home after renovation.
1. Understanding Post-Construction Cleaning
Post-construction cleaning is different from regular cleaning because it involves:
- Heavy dust removal
- Hazardous debris disposal
- Cleaning fine particles stuck inside vents, cracks, and surfaces
- Removing protective films, adhesive, caulks, and stains
- Deep sanitization of surfaces before moving in
Construction dust contains silica, which can irritate lungs and stay suspended for days — so this cleaning MUST be systematic and thorough.
2. Pre-Cleaning Safety Preparations (Don’t Skip This!)
Before the scrubbing starts, protect yourself and the space.
✔ Wear Proper Safety Gear
- N95 mask or respirator
- Safety goggles
- Thick gloves
- Non-slip closed shoes
✔ Ventilate the Space
Open all windows and doors to allow dust to escape naturally.
✔ Turn Off HVAC Systems
Running your AC/Heater before cleaning spreads dust throughout the duct system.
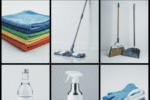
✔ Gather Equipment
You’ll need:
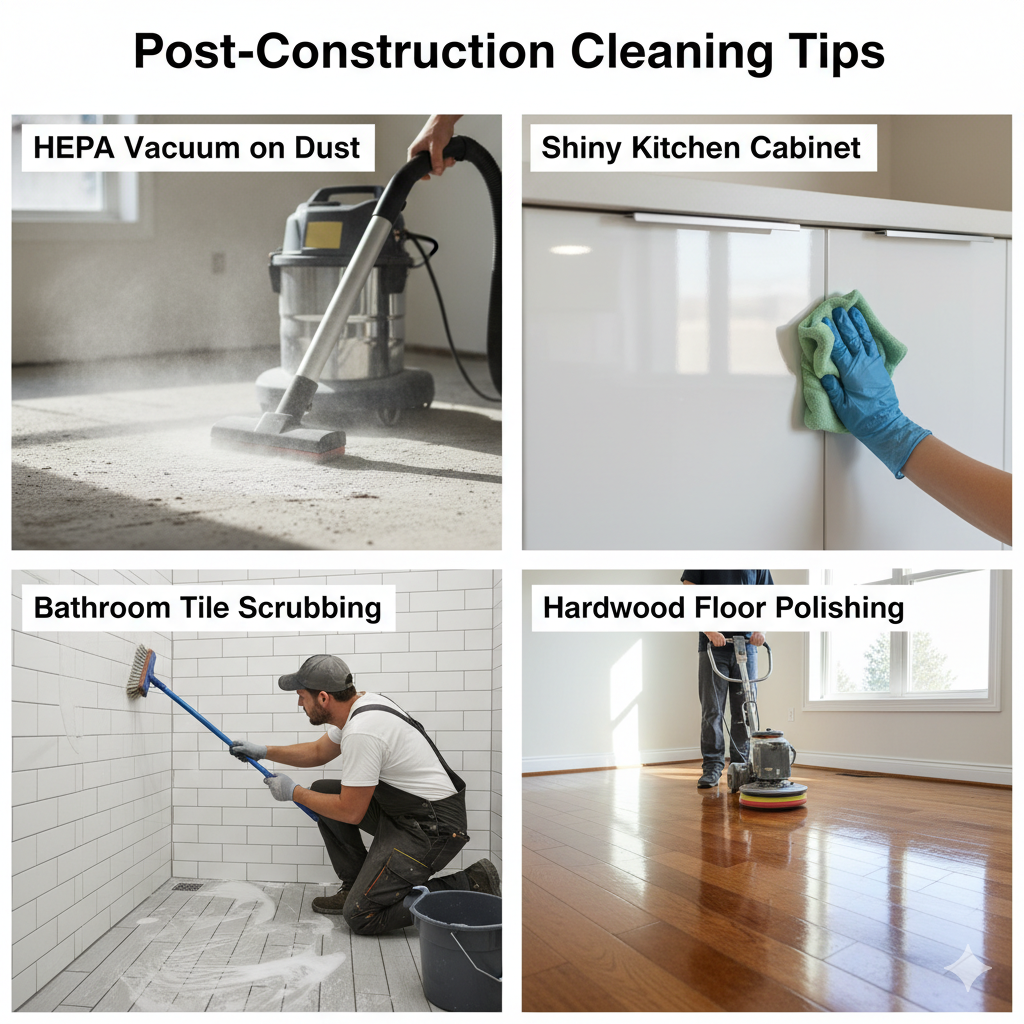
- HEPA vacuum
- Microfiber cloths
- Mop + bucket
- Scrapers
- Glass cleaner
- Eco-friendly multi-purpose cleaner
- Ladder
- Plastic bags
- Broom
- Putty knife
- Paint remover (optional)
3. The Complete Post-Construction Cleaning Checklist
This is the professional 3-phase cleaning method used by top cleaning companies.
Phase 1: Rough Cleaning (Initial Cleanup)
This phase removes the “big mess.”
✔ 1. Remove Debris & Construction Waste
Gather:
- Wood scraps
- Packaging
- Leftover tiles
- Plastic coverings
- Nails, screws
- Caulking tubes
- Disposable paint trays
Tip: Use thick contractor bags. Regular bags tear easily.
Source:
- EPA Safer Choice Cleaning Products — Find certified safer cleaning products.
- ISSA (Cleaning Industry Best Practices) — ISSA best practices are generally found through their main site: https://www.issa.com/
✔ 2. Dust From Top to Bottom
Start high → end low, so dust falls downward and gets cleaned in one go.
Clean these first:
- Ceiling fans
- Light fixtures
- Window frames
- Top of cabinets
- Air vents
- Door frames
- Ceiling corners
Use a microfiber duster — avoid feather dusters since they push dust around.
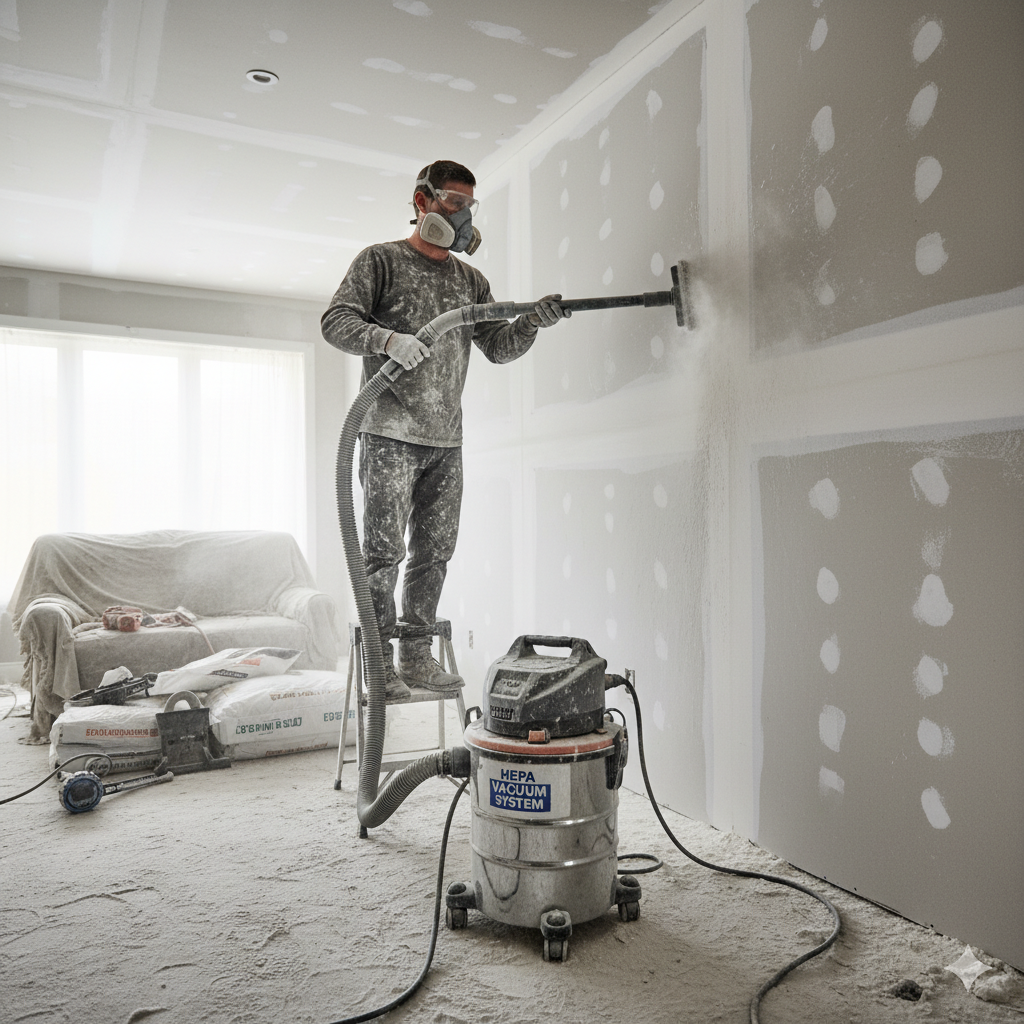
✔ 3. Vacuum Walls
Yes… walls gather fine dust too.
Use a HEPA vacuum brush attachment to remove:
- Plaster dust
- Sand
- Powder from sanding
- Drywall residue
Do NOT use a wet cloth — it smears.
Phase 2: Deep Cleaning (Detailed Room-by-Room Work)
This is where the real shine comes in.
4. Room-by-Room Deep Cleaning Checklist
Living Room & Bedrooms
✔ Clean Baseboards Thoroughly
Fine dust settles here the most.
Use:
- Damp microfiber cloth
- Mild cleaner for sticky residues
✔ Vacuum Carpets and Upholstery
Use a HEPA vacuum to avoid re-introducing dust into the air.
If carpets look dull → steam cleaning recommended.
✔ Clean Windows & Mirrors
Construction dust leaves a cloudy look.
Use:
- Vinegar + water mix OR
- Ammonia-free glass cleaner
✔ Wipe Doors, Handles, Knobs
Remove handprints, dust, and adhesive marks.
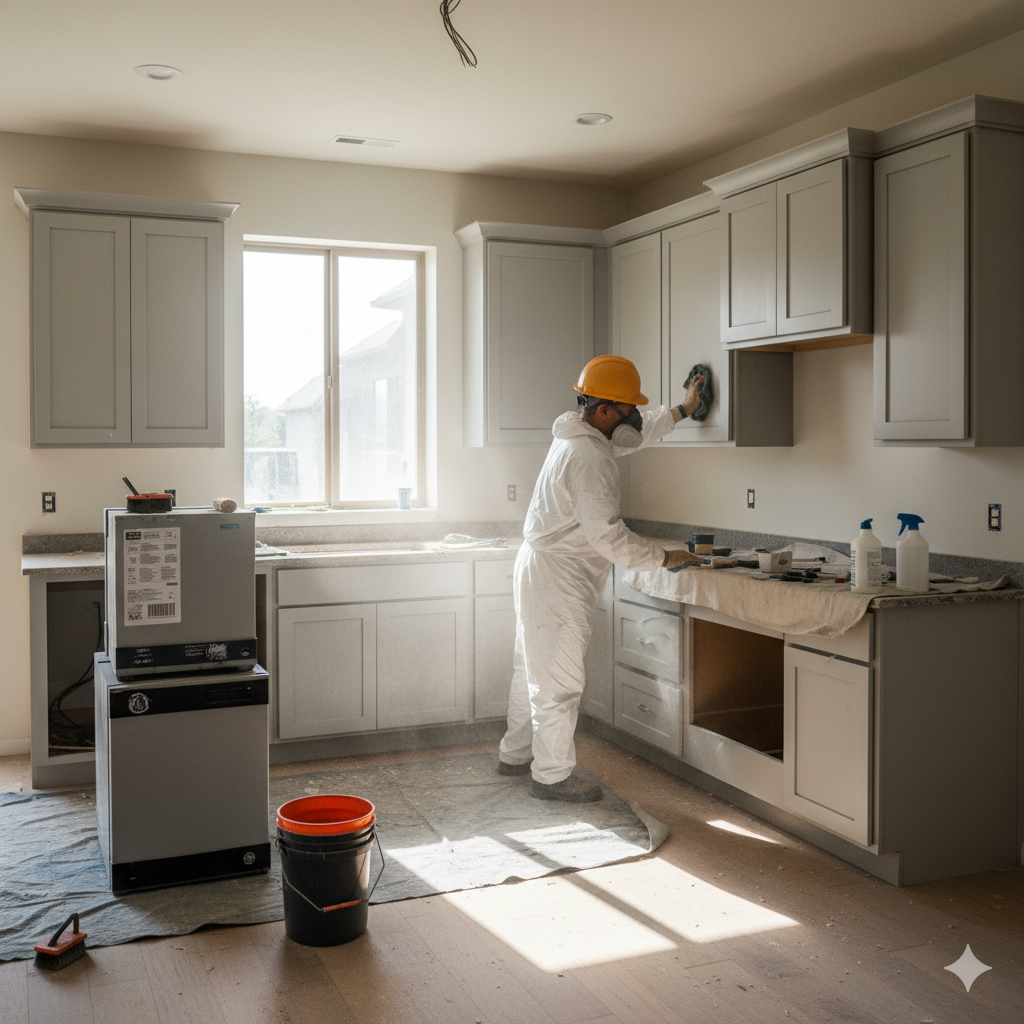
Kitchen
The kitchen captures the most dust due to cabinets and fixtures.
✔ Clean Inside & Outside All Cabinets
Remove:
- Sawdust
- Packaging residue
- Paint specks
Use mild soapy water, avoiding harsh chemicals.
✔ Degrease Appliances
Contractor fingerprints and residue need removal.
Wipe:
- Fridge exterior
- Stove top
- Dishwasher front
- Microwave surface
✔ Countertops & Backsplash
Scrub gently — especially granite or quartz which show construction dust clearly.
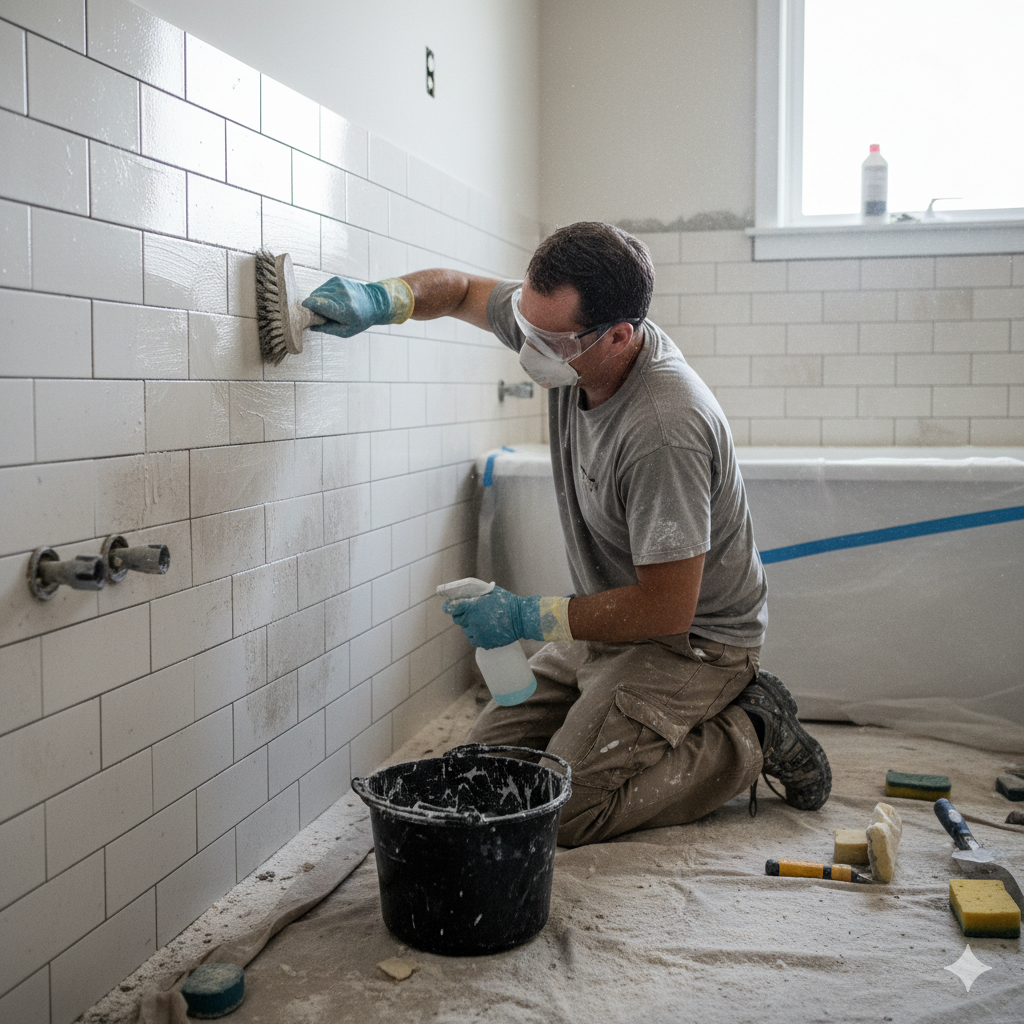
Bathrooms
✔ Scrub Tiles & Grout
Construction powder settles here heavily.
✔ Remove Stickers & Protective Film
New fixtures often come with:
- Labels
- Films
- Glue spots
Use a plastic scraper + warm water for safe removal.
✔ Clean Faucets & Shower Heads
Polish with microfiber for a shiny finish.
✔ Sanitize Toilets, Sinks & Showers
Make everything move-in ready and hygienic.
Doors, Frames, Hardware
✔ Remove caulk smudges
✔ Wipe hinges & handles
✔ Clean door tops and sides
These collect huge amounts of dust.
5. Construction Dust Removal: Pro-Level Method
Dust is the hardest part of post-renovation cleaning.
Use the 3-Stage Dust Elimination Method:
Stage 1 — Dry Dusting
Using microfiber cloths and HEPA vacuum.
Stage 2 — Damp Wiping
Use slightly damp (not wet) cloths to trap remaining dust.
Stage 3 — Final Polishing
A second wipe once dust fully settles after 12–24 hours.
(This is why pros clean homes twice!)
6. Air Purification & HVAC Cleaning
✔ Clean Air Vents
Dust inside vents spreads to all rooms.
- Remove vent covers
- Wash with warm soapy water
- Vacuum ducts using a long attachment
✔ Replace HVAC Filters
Use high-quality HEPA filters.
Also Read: 15 Brilliant Eco-Friendly Home Cleaning Hacks That Actually Work (Beginner-Friendly Guide)
7. Floor Cleaning Based on Each Material
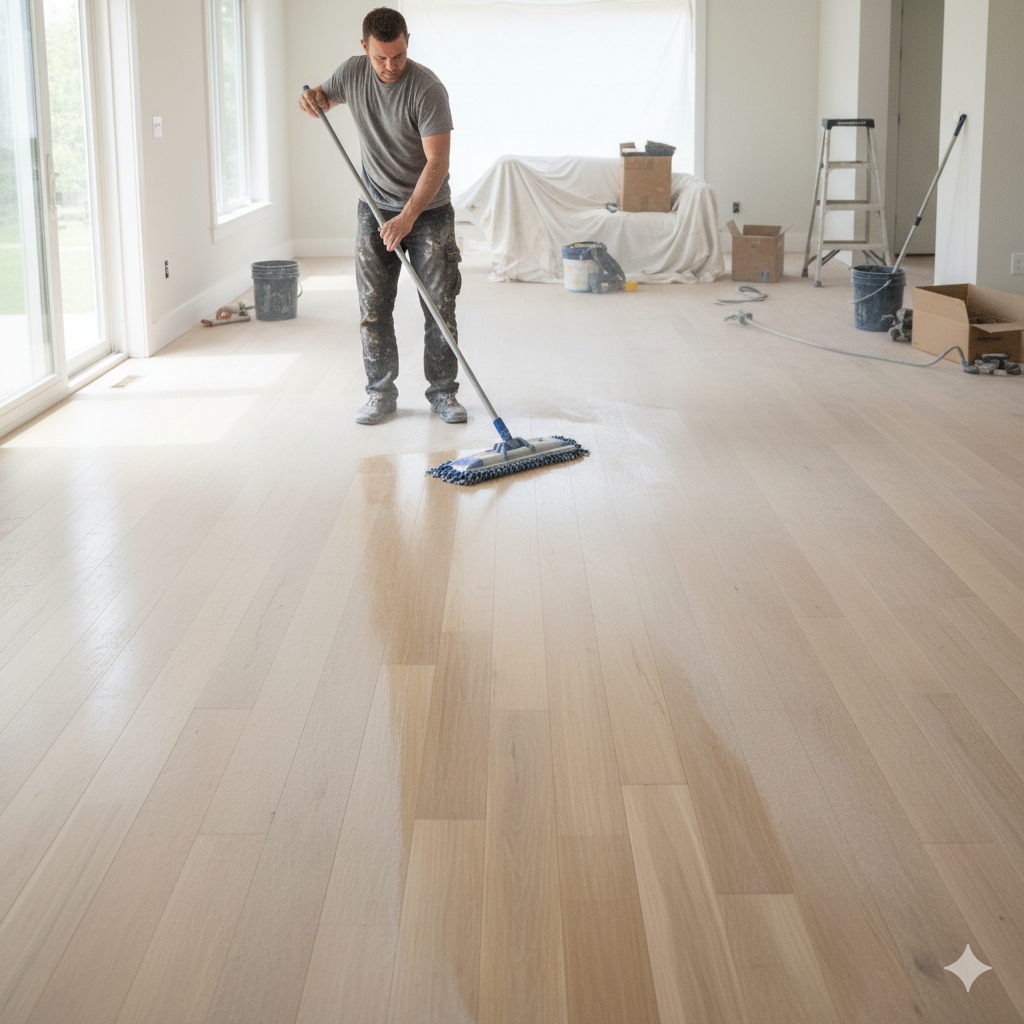
✔ Hardwood Floors
Avoid excessive water.
Use:
- Vacuum
- Damp mop
- Wood-safe cleaner
✔ Tile Floors
Perfect for deep scrubbing.
Use:
- Hot water + multi-purpose cleaner
- Scrub grout lines
✔ Vinyl Floors
Avoid abrasive cleaners.
Use gentle cleaner + microfiber mop.
✔ Carpets
Construction dust settles deep.
Professional steam cleaning is ideal.
8. Stain, Adhesive & Paint Removal Tips
✔ Paint Drops
Use a plastic scraper + warm water.
For stubborn ones:
Use rubbing alcohol (test first).
✔ Adhesive Residue
Use:
- White vinegar
- Goo Gone (eco-friendly version available)
✔ Cement or Grout Haze
Special grout cleaner or vinegar solution works well.
9. Eco-Friendly Post-Construction Cleaning Options
Your audience loves eco-friendly? Perfect.
Use:
- Vinegar for glass & tiles
- Baking soda for scrubbing
- Castile soap for surfaces
- Lemon for natural scent
- Plant-based cleaners
No harsh chemicals needed.
10. Should You Hire a Professional Cleaning Service?
Professionals are great when:
- You renovated multiple rooms
- Dust is overwhelming
- There are stubborn paint/cement spots
- You’re moving in fast
- Allergies or kids are in the home
They bring industrial HEPA vacuums, ladders, and tools.
11. Maintenance Cleaning After Move-In
To keep your space fresh:
- Dust daily for 3–5 days
- Use air purifiers
- Vacuum every room daily for the first week
- Change HVAC filter again after 30 days
Construction dust continues to fall even after first cleaning.
FAQs
1. How long does post-construction dust last?
It can linger 3–5 days, sometimes up to 10 days if not cleaned properly.
2. Can I use a regular vacuum after renovation?
No — use a HEPA vacuum to avoid blowing dust back into the air.
3. Should I clean walls after construction?
Yes, walls collect a large amount of fine dust that can spread again.
4. Is eco-friendly cleaning effective for construction dirt?
Yes, especially vinegar, baking soda, and castile soap.
5. When can I turn on my AC after renovation?
Only after vents are fully cleaned and filters replaced.
Your Home Is Finally Ready!
Post-construction cleaning may feel overwhelming, but with the right step-by-step plan, HEPA vacuuming, dust control, floor care, and room-by-room detail work, your home becomes spotless, safe, polished, and absolutely move-in ready.
You’ve invested time, energy, and money into your renovation — now your home deserves the final touch of premium-level cleaning.